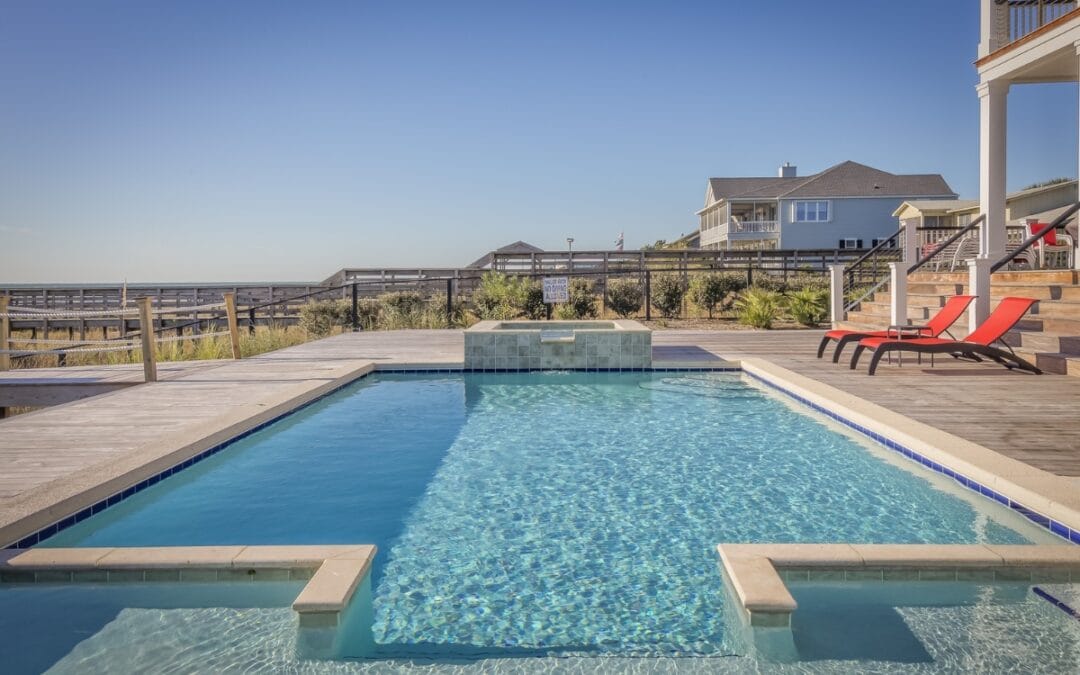
Is your inground pool starting to show its age? Many homeowners face the dilemma of outdated designs and worn-out surfaces.
This guide will walk you through the inground pool renovation process, covering essential steps like preparing for the project, key renovation stages, and tips for post-renovation care.
You’ll learn how to rejuvenate your pool, enhance its energy efficiency, and ensure your mosaic floor and deck look fantastic. By the end, you’ll have a clear plan to transform your pool into a stunning outdoor feature that you and your family can enjoy for years to come.
The Inground Pool Renovation Process: What to Expect
Understanding Inground Pool Renovation
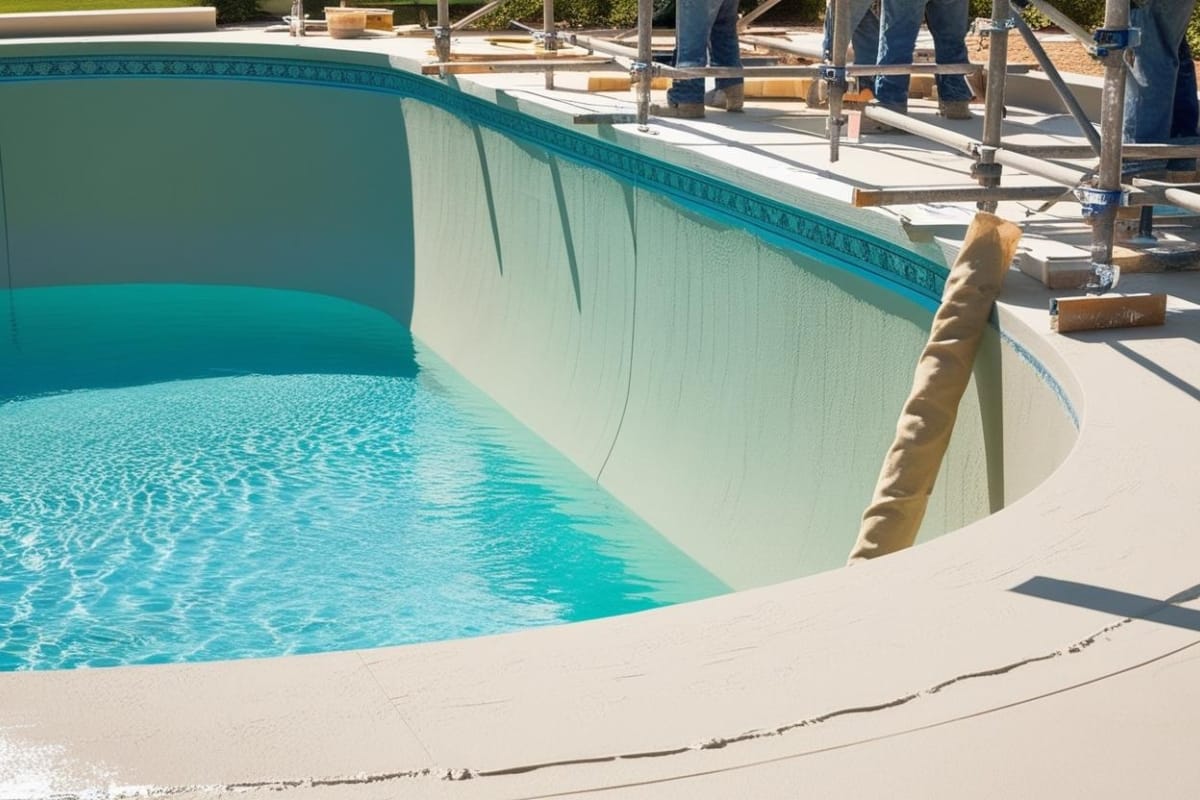
Renovating your inground pool can be a game-changer for your outdoor space. Common reasons for updating your pool include improving chlorine levels, enhancing beauty, or even adding a hot tub.
Recognizing the benefits of renovation can lead to better pool maintenance and overall enjoyment. Key elements of inground pool design, like alkalinity control and updated features, play a crucial role in this process.
Common Reasons for Renovating Your Pool
When you think about why your inground pool might need some renovations, several factors come into play. Upgrading pool plaster or resurfacing is often needed to restore the shine and ensure a smooth surface, which not only looks great but also offers a more enjoyable swimming experience.
You may also find that updating your pump can enhance efficiency and maintain better chlorine levels, ultimately leading to a more inviting pool area for you and your family.
Recognizing the Benefits of Renovation
Renovating your inground pool brings plenty of perks that can make a big difference for you as a homeowner. For instance, upgrading to durable pebble finishes not only improves the aesthetics of your pool, but it also enhances the longevity and resistance to wear and tear, especially when considering the impact of soil conditions.
These renovations ultimately lead to a smoother swimming experience and can even increase your property value, making your outdoor space more enjoyable year-round.
Key Elements of Inground Pool Design
The key elements of inground pool design are crucial for ensuring your pool remains functional and beautiful over time. From preventing leaks to managing water pressure, these components require attention during renovation.
Engaging a pool contractor for tasks like sandblasting old surfaces during construction not only revitalizes your pool’s appearance but also addresses any underlying issues that could lead to future problems.
Renovating your pool is just the beginning. Now, let’s dive into how to prepare for the renovation process and make it smooth and rewarding.
Preparing for the Renovation Process
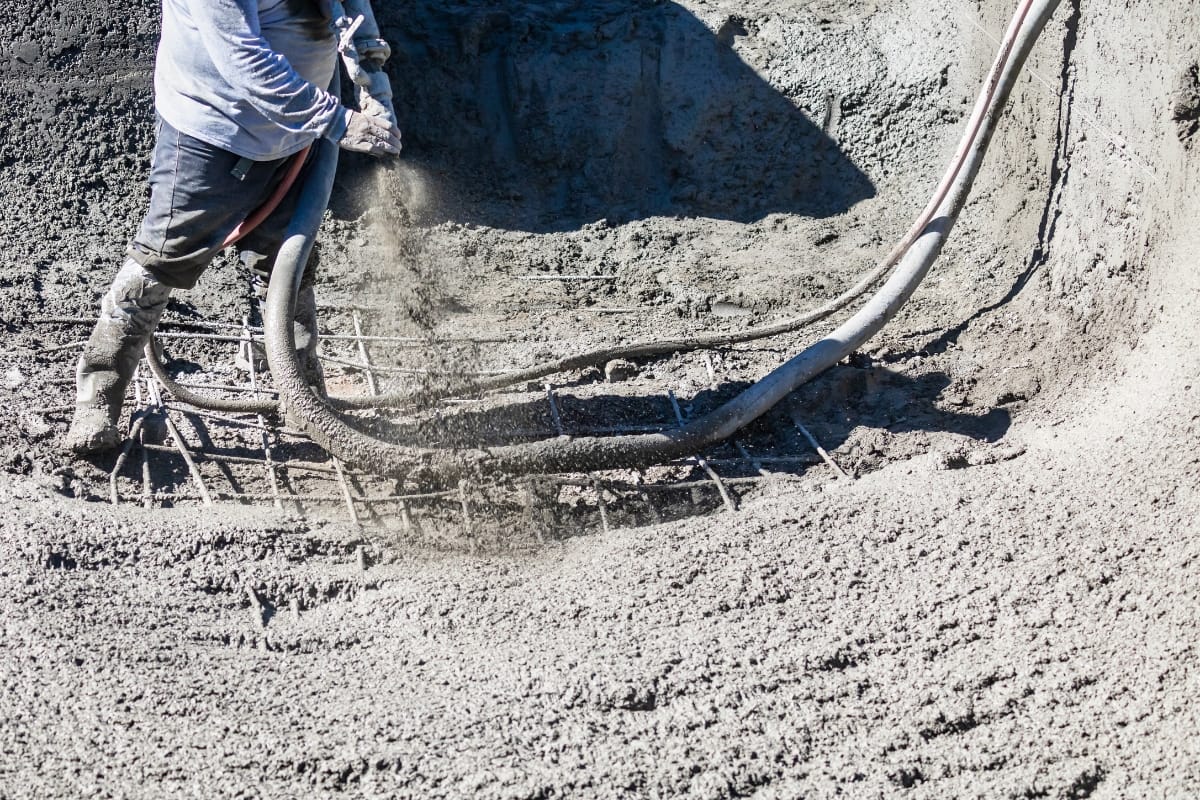
Before diving into your inground pool renovation, start by assessing the current condition of your backyard pool. Look for signs that could require troubleshooting, like cracking plaster or peeling acrylic paint.
Next, establish a realistic renovation budget that encompasses all necessary upgrades. Finally, finding a reliable swimming pool contractor will ensure your project runs smoothly and meets your expectations.
Assessing the Current Condition of Your Pool
Before kicking off your renovation, it’s important to conduct a thorough inspection of your pool. You want to look for any signs of wear, such as debris buildup, cracking grout, or the presence of algae that could indicate underlying issues.
Pay attention to details like the state of the plaster or the epoxy coating as well; these elements are crucial for the pool’s overall integrity and appearance.
- Inspect for debris and algae accumulation.
- Check the integrity of the grout and plaster.
- Evaluate the condition of any existing epoxy coatings.
Establishing Your Renovation Budget
When it comes to establishing your renovation budget for your inground pool, it’s important to think about all the elements that play a role in the process. You’ll want to account for costs associated with pool repair or updates, such as replacing a vinyl liner or applying a quartz finish.
Working with experienced contractors can help you get a better idea of where to allocate funds, ensuring you address all necessary upgrades while sticking to your financial plan.
Choosing the Right Renovation Contractor
Choosing the right renovation contractor is crucial for a successful inground pool project. Look for someone with expertise in key areas like filtration systems, acid wash procedures, leak detection, and tile or cement repairs.
This ensures your renovation not only meets aesthetics but also enhances the pool’s functionality and longevity, giving you peace of mind as you enjoy your outdoor space.
You’ve laid the groundwork and planned well. Now, let’s move forward with the steps to transform your inground pool into the oasis you’ve dreamed of.
Inground Pool Renovation Steps Guide
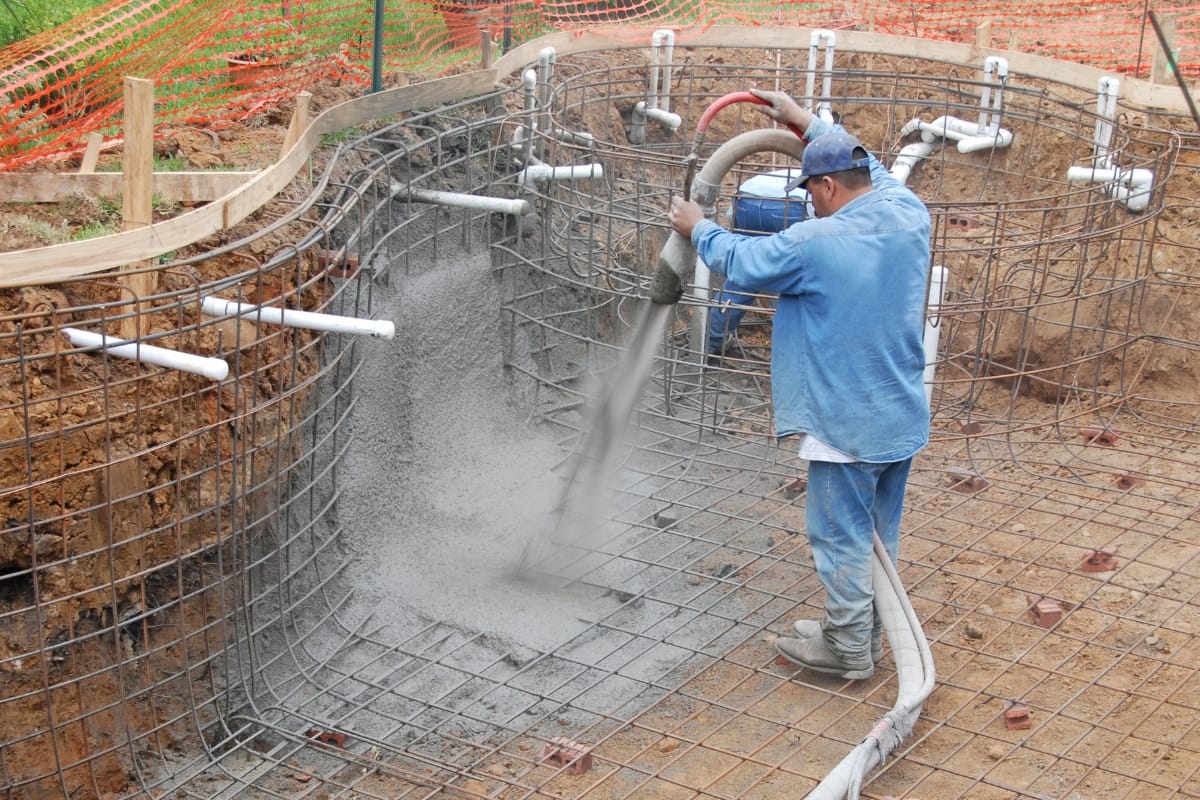
Renovating your inground pool involves several key steps that simplify the process and ensure success. You’ll begin by draining the pool and prepping the site, followed by inspecting and repairing structural components.
Next, you’ll focus on upgrading equipment and features, choose stunning finishes like glass tile, and finally fill the pool with water while performing initial treatments. Each phase plays a role in enhancing the pool’s longevity and overall appeal.
Step One: Drain the Pool and Prepare the Site
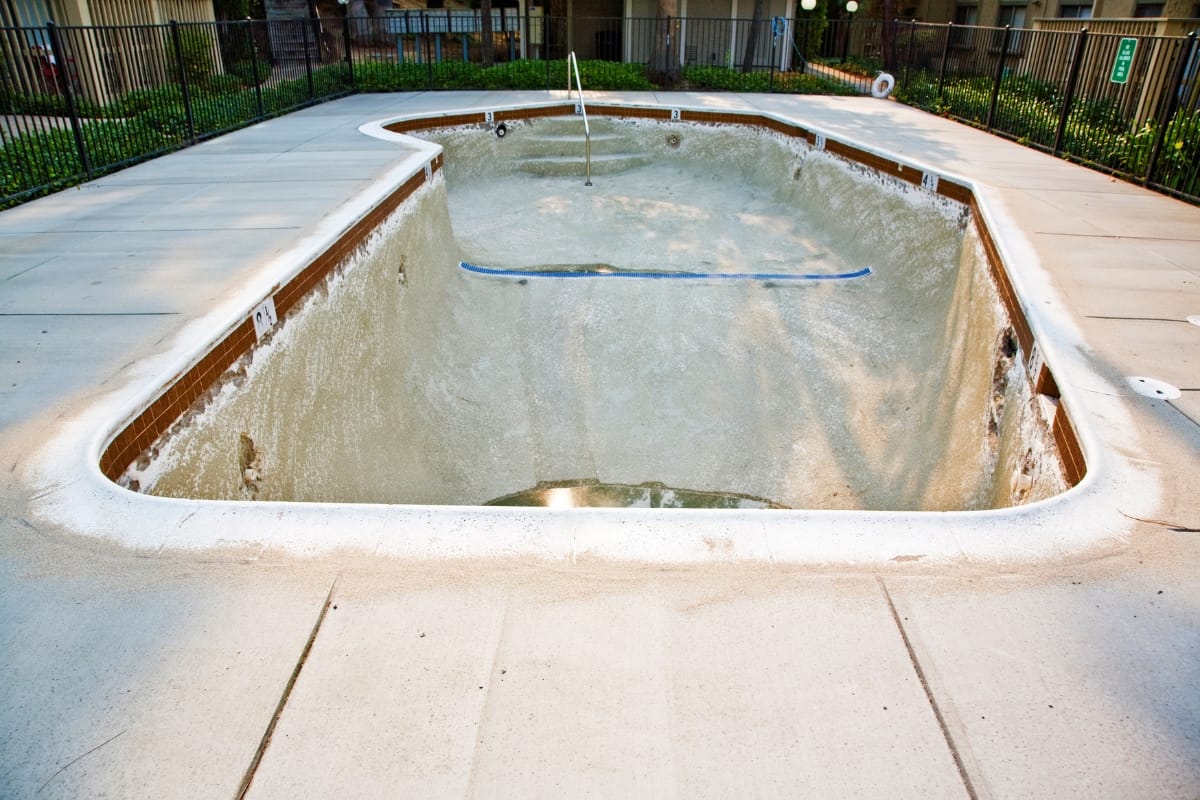
To kick off your pool remodel, you’ll start by draining your pool completely to clear out any water. This step is crucial as it allows you to thoroughly inspect for stains and other issues that need attention during the renovation.
Once drained, preparing the site involves using a trowel to smooth out any rough patches or repairs, ensuring your backyard oasis is ready for the construction ahead.
Step Two: Inspecting and Repairing Structural Components
Inspecting and repairing structural components is a key part of your swimming pool renovation. Start by checking for any signs of leaks, which could waste water and lead to bigger issues down the road.
If you notice a leak, using a hose to direct a submersible pump can help manage water during repairs, while also ensuring that your pool’s lighting and features stay safe and functional throughout the process.
Step Three: Upgrading Pool Equipment and Features
As you move into the third step of your pool renovations, upgrading pool equipment and features can significantly enhance your swimming experience. Consult with your contractor about replacing the filter and pump to ensure they are energy-efficient, saving you money in the long run.
Consider adding a powerful automated vacuum for easy cleaning, and if you’re investing in aesthetics, upgrading to decorative concrete or modern tiles can give your pool a fresh look while boosting its functionality.
Step Four: Choosing New Finishes and Surfaces
When selecting new finishes and surfaces for your gunite pool, consider durability and style. Look for materials that come with a warranty, as this can provide peace of mind for your remodel.
Opt for finishes that can withstand wear and resist issues like algae growth, especially if you’re considering options that utilize ultraviolet technology for maintenance.
Step Five: Filling the Pool and Initial Water Treatments
Once your renovations are complete, it’s time to fill your pool and start initial water treatments. Begin by adding water slowly to ensure even filling and to check for any potential leaks in your newly resurfaced pool.
During this stage, you’ll also need to treat the water to balance pH levels, sanitize to eliminate contaminants, and ensure your pool surface, whether fiberglass or shotcrete, is prepared for optimal use. Proper water treatment not only keeps the pool safe but also enhances your overall swimming experience.
- Start with slow, even filling to check for leaks.
- Balance pH levels and sanitize the water.
- Ensure your pool surface is ready for use.
Now that you’ve mapped out the steps for your inground pool renovation, it’s time to think about what truly matters. Consider the essential factors that can make or break your project; they will set the tone for your new oasis.
Essential Considerations During Renovation
Understanding local regulations and permits is vital for your pool renovation to ensure everything complies with community standards. Also, making sure safety measures are in place will protect everyone enjoying your swimming area.
Finally, maintaining open communication with your contractor keeps the project on track. Each of these factors plays a crucial role in enhancing water quality and overall satisfaction with your renovated pool.
Understanding Local Regulations and Permits
Before starting your inground pool renovation, it’s essential to check local regulations and permits. Each area has its own rules regarding pool construction and safety, which means failing to comply can lead to delays and additional costs.
Knowing the requirements not only keeps you on the right side of the law but also ensures your pool meets safety standards for your family and guests.
Ensuring Safety Measures Are in Place
When going through your inground pool renovation, making sure that safety measures are firmly in place is essential. You want to think about adding secure barriers, like gates and pool covers, which help keep children and pets safe while enhancing your peace of mind.
Don’t forget to check for proper lighting around the pool area; that way, everyone can enjoy the space even during evening swims without worrying about hazards.
Maintaining Communication With Your Contractor
Maintaining open communication with your contractor during your inground pool renovation is crucial for a smooth experience. Regular check-ins allow you to address any concerns, ask questions, and get updates on progress.
By staying in touch, you can ensure the project aligns with your vision, feel comfortable with the work being done, and tackle any unexpected issues as they come up, making the entire renovation process more enjoyable for you.
Once the work is done, the journey isn’t over. Caring for your pool afterwards is just as crucial, and it opens the door to enjoying your investment for years to come.
Post-Renovation Care and Maintenance
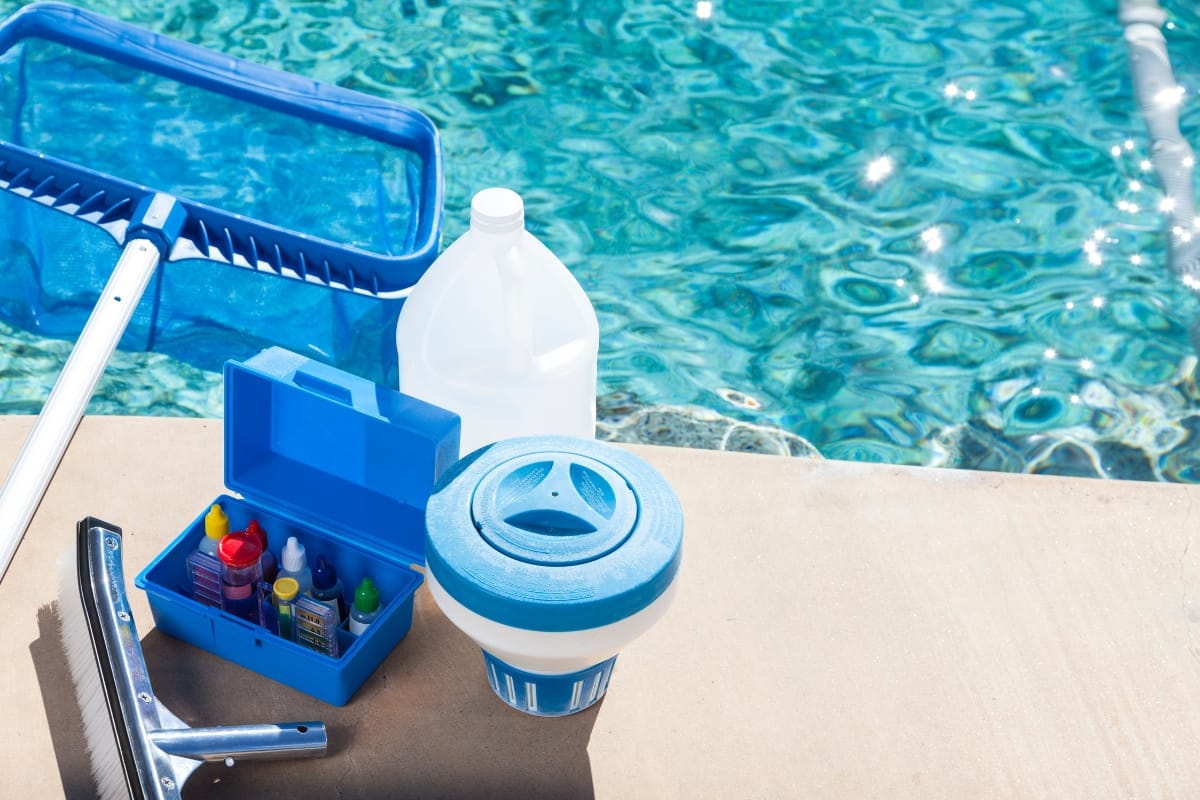
Now that your inground pool renovation is complete, establishing a regular maintenance schedule is essential for ensuring its longevity. You’ll want to focus on tips for maintaining renovated pool surfaces, which can help keep them looking great.
Finally, monitoring your water chemistry after renovation is crucial for a healthy swimming environment. Let’s dive into these practical insights to enhance your pool experience.
Establishing a Regular Maintenance Schedule
Establishing a regular maintenance schedule after your inground pool renovation is key to keeping everything in top shape.
Regularly checking the water chemistry, cleaning the pool surface, and inspecting your equipment will help prevent issues from arising while ensuring your swimming environment stays safe and inviting. Consider dedicating a specific day each week for these tasks to create a routine you can easily follow:
- Check water chemistry and adjust as needed.
- Clean the pool surface and remove debris.
- Inspect pumps and filters for proper function.
- Monitor and maintain water levels.
Tips for Long-Lasting Renovated Pool Surfaces
To keep your renovated pool surfaces looking great, regular maintenance is key. Make a habit of brushing the walls and floors weekly to prevent algae buildup and maintain a smooth finish.
Also, be sure to check the chemical balance of your pool water often; maintaining proper pH and chlorine levels will greatly enhance the durability of your new surfaces.
Monitoring Water Chemistry After Renovation
Monitoring water chemistry after your inground pool renovation is essential for keeping your swimming environment safe and enjoyable.
Regularly checking pH levels, chlorine concentration, and alkalinity helps prevent issues like algae growth and ensures the water remains clear. Make it a point to test your water weekly, especially right after renovations, to catch any imbalances early and keep your pool feeling fresh and inviting:
- Check pH levels regularly to maintain an optimal balance.
- Test chlorine concentration to ensure proper sanitation.
- Monitor alkalinity to prevent fluctuations in water chemistry.
Taking care of your new pool is essential for its beauty and durability. If you have questions about the renovation process, you’re not alone; let’s dive into the most common queries.
Frequently Asked Questions on Inground Pool Renovation
If you’re planning an inground pool renovation, you might have some pressing questions. You’ll want to know how long the renovation process typically takes, which upgrades are the most cost-effective, and how to enhance energy efficiency during this time.
Additionally, you may wonder what steps to take if unexpected issues arise during your project. Let’s break down these topics to help you navigate your renovation smoothly.
How Long Does the Renovation Process Typically Take?
The duration of your inground pool renovation can vary based on several factors, including the size of your pool and the extent of the renovations. Generally, the entire process can take anywhere from a few days to several weeks.
For example, simple updates like resurfacing or equipment upgrades may only take one to two weeks, while more extensive renovations involving structural changes could stretch the timeline to three weeks or longer. It’s important to discuss with your contractor to get a tailored estimate for your specific project:
What Are the Most Cost-Effective Upgrades?
When considering cost-effective upgrades for your inground pool, it’s smart to focus on items that provide both immediate benefits and long-term savings.
For instance, replacing an outdated pump with a more energy-efficient model can cut down on electricity bills while improving your chlorine levels, resulting in cleaner water and a more inviting space.
Additionally, think about upgrading to LED lighting, which not only enhances the look of your pool area during nighttime swims but also uses less energy than traditional bulbs, saving you money over time.
How Can I Enhance Energy Efficiency During Renovation?
Enhancing energy efficiency during your inground pool renovation can save you money and help the environment. Think about upgrading to energy-efficient pumps and filters, which not only reduce your electricity costs but also improve water circulation and sanitation.
Additionally, consider installing solar heaters or covers; they keep the water warm and reduce heating costs significantly, letting you enjoy your pool while lowering your energy bills.
What Should I Do if Unexpected Issues Arise During Renovation?
If unexpected issues pop up during your inground pool renovation, the first step is to communicate openly with your contractor. They have the expertise to assess the situation and recommend appropriate solutions.
For example, if you discover a leak or serious damage, working closely with them ensures repairs are handled efficiently, keeping your project on track and minimizing any delays.
Conclusion
Revamping your pool can transform your backyard into a personal oasis, and Clear Water Pools Atlanta is here to make that dream a reality.
From simple updates to complete renovations, our team ensures every step of the process is seamless and tailored to your vision. Call us today at 770-406-8638 or visit our website to request a pool estimate. Let us help you create the perfect inground pool that you and your family will enjoy for years to come!

