Pool Resurfacing Process: How it Works

Your inground swimming pool is a source of recreation for spending quality leisure time in the comfort of your own environment day or night. But over time, the condition of your pool’s surface material will become damaged. Your pool may need to be resurfaced when you notice that the plaster has discolored, shows stains of rust or if the paint starts to peel. You might also see fibers wearing off the fiberglass, cracks in the pool’s structure, or flaking. All of these are the wear-and-tear signs that signal it’s time to resurface your pool.
The Importance of Pool Resurfacing
Inground pools are made of concrete and have a coated surface of either tile, fiberglass, pebble, or plaster. Your pool is meant to last decades; however, resurfacing it will give your pool a greater chance of reaching or increasing its longevity potential.
How long a new surface lasts varies. For example, polished finishes and white plaster lasts between 5 and 15 years; white quartz surfaces last a minimum of 10 years, and exposed pebble lasts a minimum of 15 years. A resurfaced pool makes a huge difference in increasing your investment and property value.
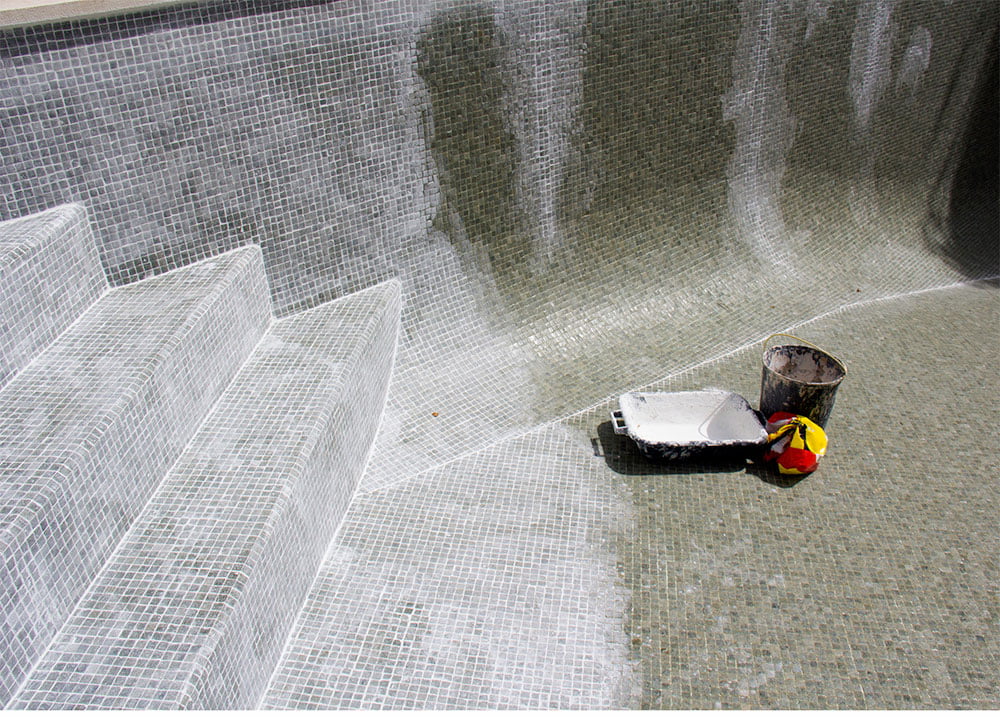
Pool resurfacing involves preparing the existing pool for a new surface coat by hydro blasting, sandblasting then bond coating, or chipping away the old surface. Next, a polished finish is applied, or a finished coat made of glass beads, glass, exposed pebble, quartz, a polished finish, or plaster is added.
Typically, it takes between 5 and 14 days to finish a resurfacing project. Work may be postponed a day or two in rainy weather.
Here’s a detailed step-by-step look at how the resurfacing process works:
Step 1 – One of our expert technicians prepares the pool and then drains it.
We check that the pool’s lights are functional. Next, we tag them with a yellow sign stating to leave the lights off while your pool is without water.
Following that, we turn off your pool and any electrical attachments to it. We drain your pool using a submersible pump that we place into it.
Step 2 – Specialty trained crews remove old material on the pool’s surface.
Before we begin this step, we ask the homeowner to please move the following items to another location: patio furniture, plants, pots, and anything else in the pool area.
Our specially trained crews use professional equipment to sandblast and strip away the flawed surface material. They will work diligently to get it ready for receiving your chosen new surface material.
We do our best to shelter the area surrounding your pool with coverings because this stage of the pool resurfacing process creates the most dust and noise. Sandblasting is needed to complete the work correctly and thoroughly so that the results of resurfacing will last for years to come.
At the end of each workday, we take care to remove all debris and excess materials from the construction process. After the resurfacing project is finally completed, we go over the site again and perform an end-of-project cleanup. We take a special interest in restoring your backyard to the way it was prior to when we arrived.
Step 3 – Skilled craftsman install tile and complete the masonry work.
Before this step starts, you’ll finalize your selections for your tile, ledger stone, coping such as pavers, grout color, and other ornamental features for the design.
These components are installed by our talented masonry craftsmen. It may take between 1 to 3 business days to complete the installation.
Step 4 – Specialists inspect and seal the appropriate plumbing pipes.
We place water-tight seal material around the plumbing for your pool. We clean the shell of the pool during this stage too.
Step 5 – Expert crews install the surface finish material for your pool’s surface.
You’ll notice how your swimming pool’s finish comes to life after the finish material is applied. Based on the material you select, this process can take between 1 to 2 business days.
Step 6 – If applicable, our highly-skilled and trained crews use an acid wash.
Some finishes such as Quartz in a darker finish, Hydrazzo, Beadcrete, or Pebble require an acid wash to protect the finish. If you’ve chosen one of those, our professional technicians are experienced in acid washing and will safely and quickly complete the process.
After the pool resurfacing job is completed, we remove any debris and then begin to add water to your pool. We’ll ask you to assist by turning off the water when it reaches your waterline tile’s middle area.
Step 7 – Swimming pool service experts must give your pool an Initial Water Treatment.
During the first week, your professional pool service should apply a few Initial Water Treatment applications. When your pool is filled again, careful monitoring will be needed for even curing. This is a very important step for maintaining the beauty of your pool. It also helps extend the surface material’s lifespan. We would be happy to perform this optional service for you, so please ask us about it.
Our pool experts are here to answer any questions you may have about our pool resurfacing process, so don’t hesitate to contact us.


